


Glue Isn’t Just for Sticking: Rethinking the use of basic art materials
With the availability of a dizzying array of colorful and glittering art supplies today, it is easy to forget the basics. School glue, crayons, and scissors are just a few staple items that can easily be found in most school supply boxes. Yet these items have been more readily pushed aside for flashier art supplies like glitter glues, scented markers, and fancy paper cutters.
Recent arts and crafts blogs, however, are divulging some fresh and innovative ways to use these inexpensive and easy-to-find supplies. In the how-to below, we reveal some simple and beautiful art projects that use a bottle of school glue, proving that even though this viscous art box basic is still necessary for assembling projects, it no longer needs to hide sandwiched between paper pieces.
Sun Catcher
You will need: clear plastic lid from a coffee can; clear or white school glue; small, colorful pieces such as buttons, shiny paper bits, mosaics tiles, gems, sequins, etc.
To create: Pour enough glue into the plastic lid to just cover the bottom. Arrange and place gathered colorful pieces onto glue surface. Place in a sunny area like a window ledge, and let dry. When fully dry (may take up to 2 weeks to fully cure), use a sharp object such as a pen or awl to pierce a hole near the edge of the lid. Thread string through the hole, and hang in the window. The transparency of the dried glue allows the colorful pieces glisten in the sun like stained glass.
Colorful “Window”
You will need: old or inexpensive frame, preferably with a plastic cover (if using glass, children must be supervised at all times); clear packaging tape; clear school glue; small, colorful pieces such as buttons, shiny paper bits, mosaics tiles, gems, sequins, etc.
To create: Remove the back of the frame and discard or put aside for another use. Tape the glass or plastic securely to the frame; pour some clear glue on the back of the glass, and spread over the entire surface with a popsicle stick or plastic spoon. Arrange and place gathered colorful pieces onto glue surface, remembering that you are working on the back of the finished piece – the side of the object you would like to display should be placed face down on the glue. Allow a day or so for the glue to dry, and display in a window to allow the sun to shine through.
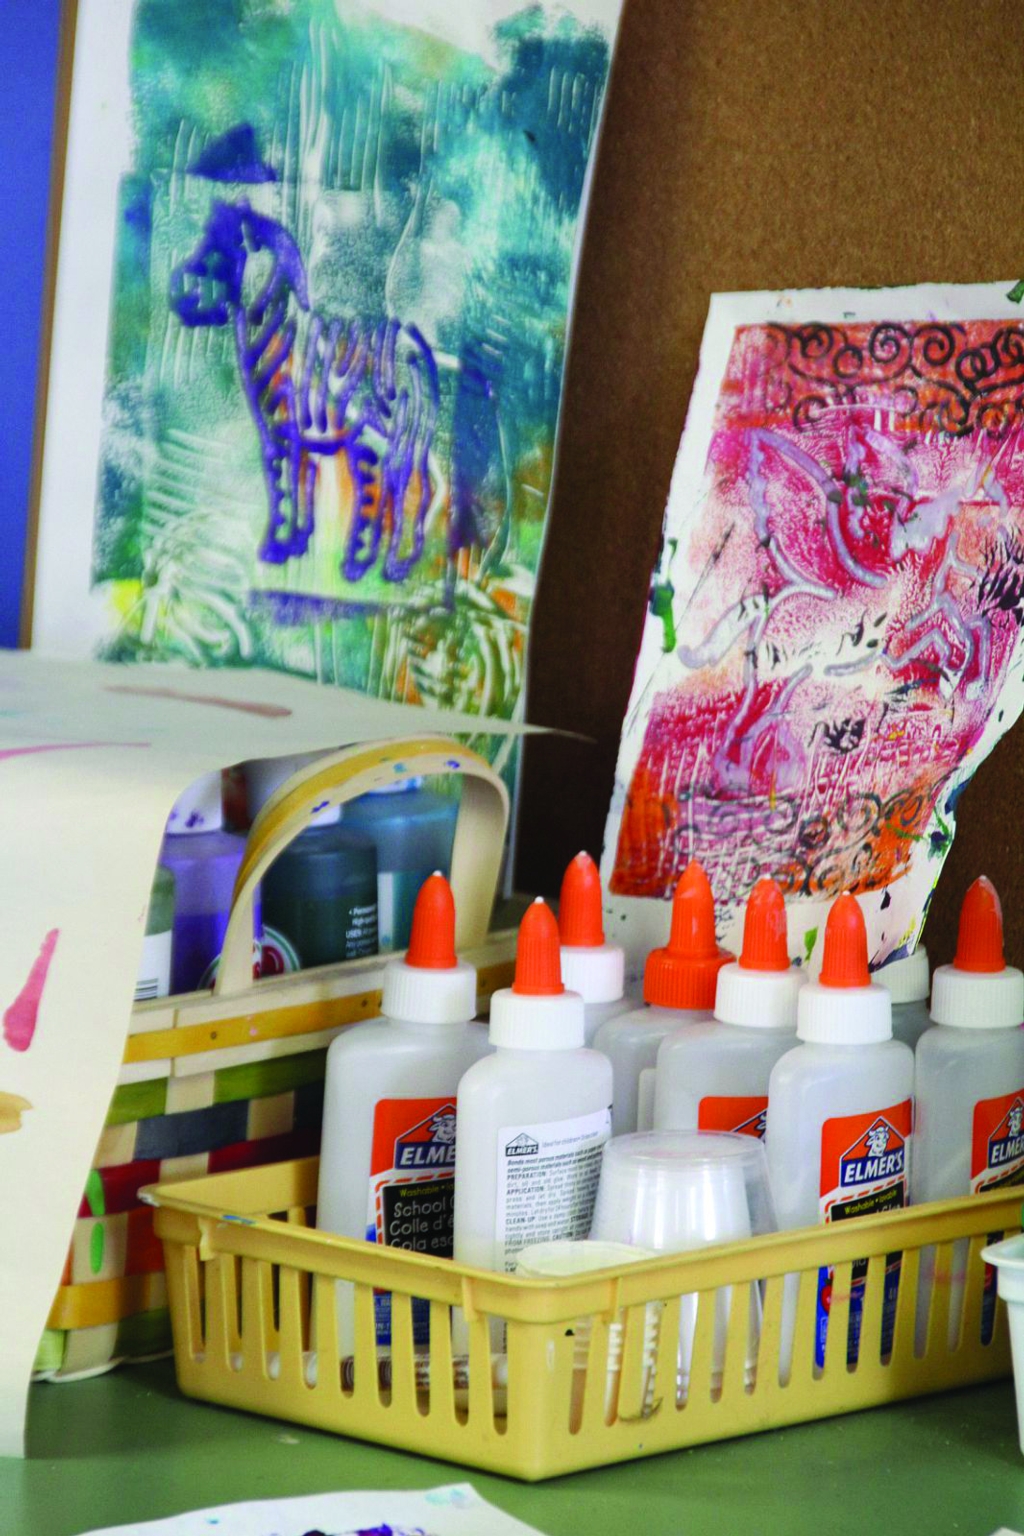
Glue Resist Painting
You will need: school glue (white, gel or clear) in a squeeze bottle; sturdy paper, such as construction paper or cardstock; soft chalk pastels or watercolors.
To create: Using the squeeze bottle, draw an image or design onto the paper surface with the glue (you may want to draw your image on the paper first with a pencil, and then retrace with the glue). When the glue dries, use chalk pastels or watercolors to cover the entire paper, including the dried glue. The dried glue will resist the color, but you can use a soft cloth or paper towel to gently buff off any of the color that may have adhered to the glue. The image will reveal itself through the color.
Textured Surface
You will need: white school glue; toilet paper – (yes, toilet paper!); popsicle sticks; tempera or acrylic paint; sturdy art surface, such as construction paper, cardstock, wood, canvas, etc.
To create: In a mixing bowl, combine approximate equal parts of toilet paper (torn into small pieces) and glue. Mix together with a spoon until the toilet paper dissolves into the glue, and you have a lumpy, yet homogenous, paste. Spread the mixture onto your paper or canvas, let dry. When it is fully dry (will dry to a plaster-like hardness), paint over the paste in any way you like. You will end up with a colorful, and beautifully textured work of art.
Julie Rosenthale is an art teacher and the owner of Art Sparks, an art studio for children located at 33 Railroad Place in Hopewell, NJ. Find out more about Classes, Camps and Birthday Parties at Art Sparks visit www.artsparksstudio.com or call (609) 466-5437.
|
|
|
Our website content is created by our national and local publishers. We strive to provide accurate and timely information regarding resources in your geographic area. As always, please confirm events and activities posted on our website with the organizations hosting the events. We are not responsible for errors or omissions inadvertently posted on our site. |


| GET INVOLVED | |
|---|---|
| Become a Publisher | |
| Advertise With Us | |
| Submit an Event | |
| Create a Profile | |

|
Find Your Community |
| HELP & SUPPORT |
|---|
| About Us |
| FAQ |
| Contact Us |
| TERMS & PRIVACY |
|---|
| Terms of Use |
| Our Policies |
 RSS RSS |
| Login |